SpringBoot入门项目:搭建登录页面
目的:熟悉SpringBoot目录结构、搭建流程
需求:用SpringBoot搭建登录页面
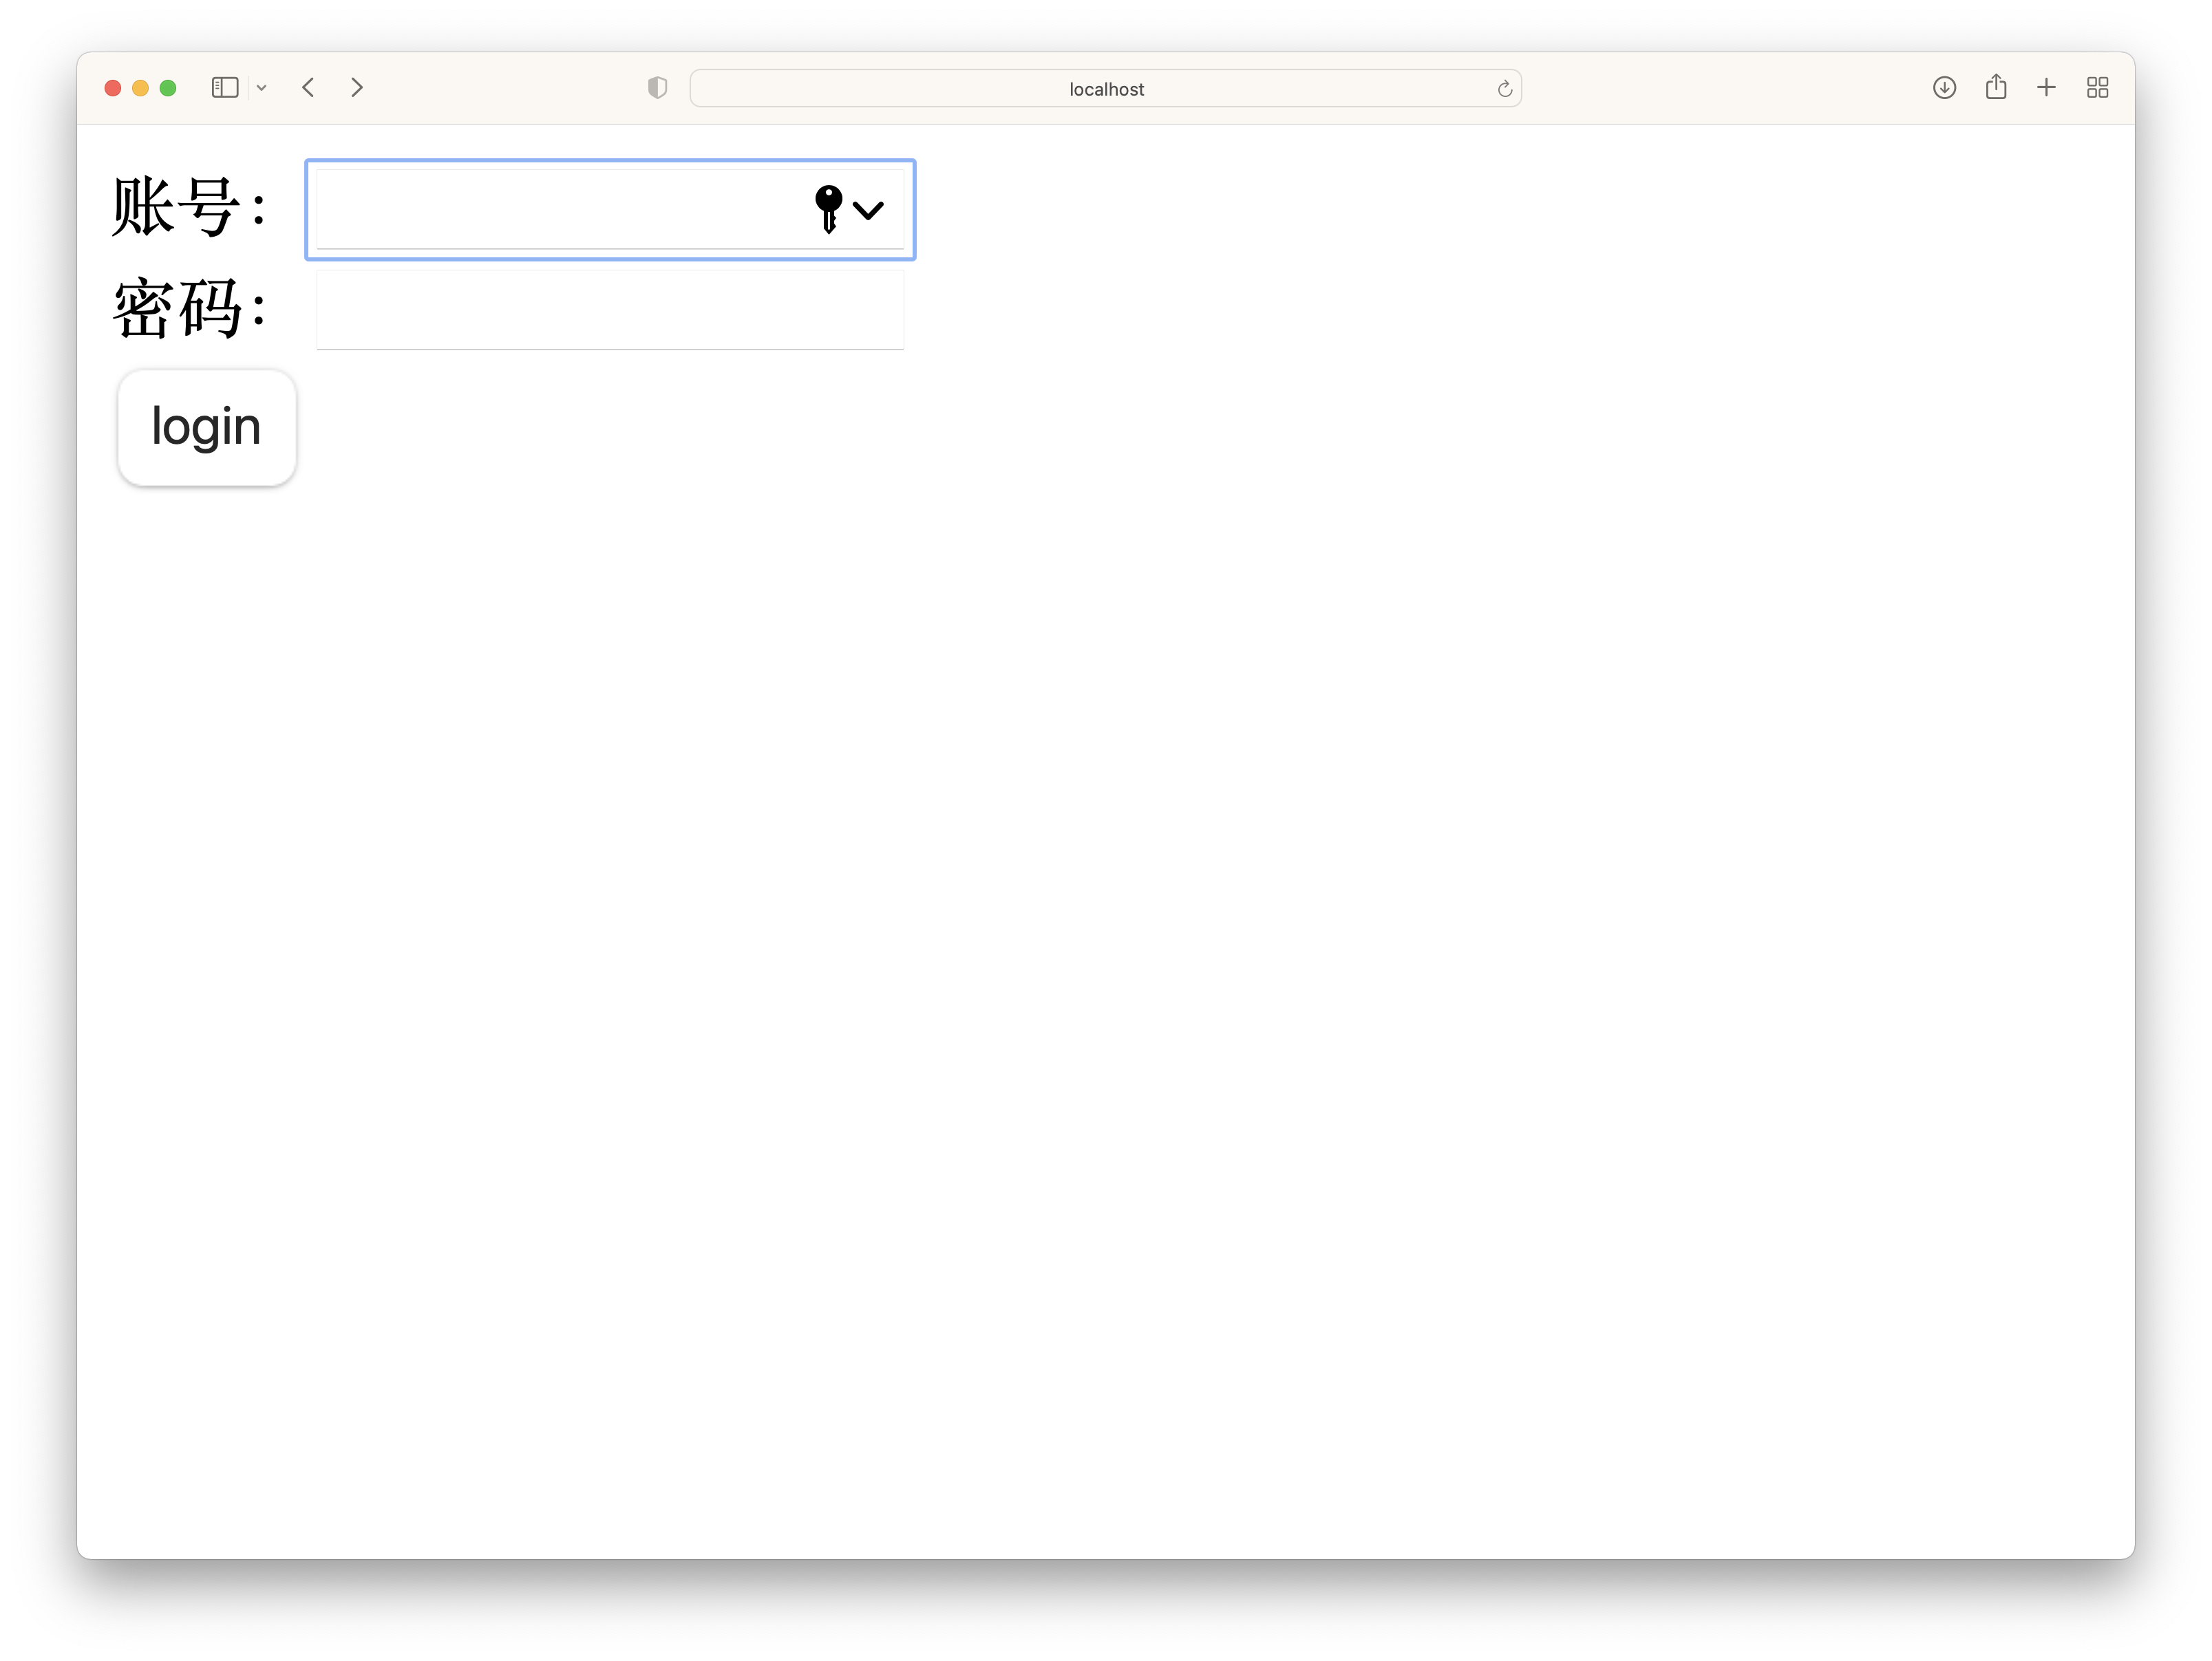
1- html页面
欢迎页、登录页、登陆结果页、Error页
2- Controller层,也叫Web层,实现与web前端的交互。
路由—网页
@Controller
public class indexController {
    @RequestMapping("/")
    public String helloYou(){
        return "index";     // index是页面
    }
}
3- 配置数据库
application.properties
spring.datasource.url = jdbc:mysql://localhost:3306/test
spring.datasource.username = root
spring.datasource.password = 7890
spring.datasource.driverClassName = com.mysql.jdbc.Driver
或者application.yml
spring:
  datasource:
    name: test  #数据库名
    url: jdbc:mysql://localhost:3306/test #url
    username: root  #用户名
    password: 7890  #密码
    driver-class-name: com.mysql.jdbc.Driver  #数据库链接驱动
4- Bean层:也叫model层,模型层,entity层,实体层,是数据库表的映射实体类,存放POJO对象;
get、set方法
5- DAO层:也可命名为Mapper。 DAO包括:访问数据库接口文件、访问数据库实现文件
XxxMapper.java(数据库访问接口类)
package com.example.hellospringboot.mapper;

public interface UserMapper {
    UserBean getInfo(String name,String password);
}
XxxMapper.xml(数据库链接实现)
在resource.mapper文件夹中创建一个UserMapper.xml
<?xml version="1.0" encoding="UTF-8"?>
<!DOCTYPE mapper PUBLIC "-//mybatis.org//DTD Mapper 3.0//EN" "http://mybatis.org/dtd/mybatis-3-mapper.dtd" >
<mapper namespace="com.example.hellospringboot.mapper.UserMapper">
<!--标签的namespace属性要填写访问数据库接口类文件路径-->
    <select id="getInfo" parameterType="String"
            resultType="com.example.hellospringboot.bean.UserBean">
        SELECT * FROM user WHERE name = #{name} AND password = #{password}
    </select>
</mapper>
6- 配置MyBatis,
classpath:mapper/*.xml对应的是resource.mapper.UserMapper.xml👆的地址
application.yml

  ```yml
    mybatis:
      mapper-locations: classpath:mapper/*.xml  #配置映射文件
      type-aliases-package: com.example.hellospringboot.bean #配置实体类
  ```
pom.xml 添加依赖
  ```xml
          <dependency>
              <groupId>org.mybatis.spring.boot</groupId>
              <artifactId>mybatis-spring-boot-starter</artifactId>
              <version>2.2.0</version>
          </dependency>
  ```
7- Service层:也叫服务层,业务层,包括业务接口类和实现类
XxxService.java
public interface UserService {
    // 业务接口类
    UserBean loginIn(String name, String password);
}
XxxServiceImpl.java
@Service
public class UserServiceImpl implements UserService {// 业务实现类
    // 将DAO注入Servicec层
    @Autowired
    private UserMapper userMapper;
    @Override
    public UserBean loginIn(String name, String password) {
        return userMapper.getInfo(name, password);
    }
}
报错:Error creating bean with name ‘xxxxxController‘: Unsatisfied dependency expressed through field
解决:Impl上忘记写@Service注解
8- JUnit测试类
@RunWith(SpringRunner.class)
@SpringBootTest
public class TestApplicationTests {

    @Autowired
    UserService userService;

    @Test
    public void contextLoads() {
        UserBean userBean = userService.loginIn("jun","7890");
        System.out.println("该用户ID为:");
        System.out.println(userBean.getId());
    }
}
9- 项目启动类
要添加注解@MapperScan。项目启动时要扫描mapper接口,否则会报错找不到mapper文件
@SpringBootApplication
@MapperScan("com.example.hellospringboot.mapper")
public class HelloSpringBootApplication {
    public static void main(String[] args) {
        SpringApplication.run(HelloSpringBootApplication.class, args);
    }
}
10- Controller
写controller的逻辑
@Controller
public class LoginController {

    //将Service注入Web层
    @Autowired
    UserService userService;

    @RequestMapping("/login")
    public String show(){
        return "login";
    }

    @RequestMapping(value = "/loginIn",method = RequestMethod.POST)
    public String login(String name,String password){
        UserBean userBean = userService.loginIn(name,password);
        if(userBean!=null){
            return "success";
        }else {
            return "error";
        }
    }
}
大无语报错:Invalid bound statement (not found)的各种原因
spring:
  datasource:
    name: test  #数据库名
    url: jdbc:mysql://localhost:3306/test #url
    username: root  #用户名
    password: 7890  #密码
    driver-class-name: com.mysql.jdbc.Driver  #数据库链接驱动

mybatis:
  mapper-locations: classpath:mapper/*.xml   #配置映射文件
  type-aliases-package: com.example.hellospringboot.bean #配置实体类
mybatis和spring是并列的,不要不小心写到spring里
refer
https://blog.csdn.net/qq_37186947/article/details/88601304
https://blog.csdn.net/qq_38701478/article/details/88808628
https://blog.csdn.net/baidu_39298625/article/details/98102453/