ROS基础系列(七):机器人的建模与仿真(下)
-
上节讲解机器人相关建模语言URDF和xacro,并用丰富的案例做实践
-
中节讲解控制器,重点是ros_control
-
下节主要介绍gazebo,讲解如何构建仿真环境、机器人如何在仿真环境中的运动
第七章:机器人的建模与仿真(下)
一、gazebo机器人仿真
首先将,机器人模型倒入到gazebo中,具体如下launch文件:
<launch>

    <!-- these are the arguments you can pass this launch file, for example paused:=true -->
    <arg name="paused" default="false"/>
    <arg name="use_sim_time" default="true"/>
    <arg name="gui" default="true"/>
    <arg name="headless" default="false"/>
    <arg name="debug" default="false"/>
    <arg name="model" default="$(find learn_model)/urdf/my_model.urdf.xacro"/>

    <!-- We resume the logic in empty_world.launch, changing only the name of the world to be launched -->
    <include file="$(find gazebo_ros)/launch/empty_world.launch">
        <arg name="debug" value="$(arg debug)" />
        <arg name="gui" value="$(arg gui)" />
        <arg name="paused" value="$(arg paused)"/>
        <arg name="use_sim_time" value="$(arg use_sim_time)"/>
        <arg name="headless" value="$(arg headless)"/>
    </include>

    <param name="robot_description" command="$(find xacro)/xacro.py $(arg model)" />

    <!-- push robot_description to factory and spawn robot in gazebo -->
    <node name="urdf_spawner" pkg="gazebo_ros" type="spawn_model"
          args="-z 1.0 -unpause -urdf -model robot -param robot_description" respawn="false" output="screen" />

    <node pkg="robot_state_publisher" type="robot_state_publisher"  name="robot_state_publisher">
        <param name="publish_frequency" type="double" value="30.0" />
    </node>

</launch>
launch文件虽然长,但关键地方没多少,都是些参数配置。其中主要有:
- 启动一个gazebo的空白世界环境
- 使用
urdf_spawner节点将robot_description载入到gazebo的空白世界中 - 启动
robot_state_publisher发布机器人相关tf
效果:
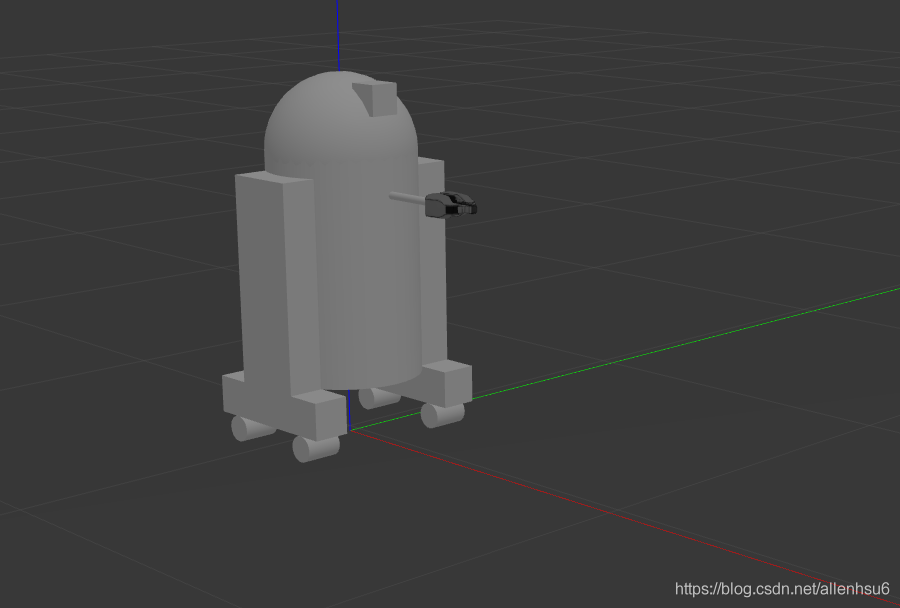
但是:
现在gazebo中的机器人,就是一个静态摆设。
无论在真实世界或者在gazebo仿真中,机器人都应该有自己的动力来源,使之能够移动。而不是像我们之前那样,通过外力来手动调节joint_state_publisher节点实现对机器人的运动控制。
为了使机器人能够交互,在gazebo仿真中,我们需要指定两部分:插件和传动系统。
1. gazebo插件
在xacro文件中的<robot>标签内,插入如下代码,来搭建gazebo和ros之间的桥梁。
  <gazebo>
    <plugin name="gazebo_ros_control" filename="libgazebo_ros_control.so">
      <robotNamespace>/</robotNamespace>
    </plugin>
  </gazebo>
上述标签内容使得机器人模型在于gazebo交互的时候,使用ros_control提供的动态连接库文件。
ros_control只是一个接口,其中包括很多中具体的控制器。所以我们还需要yaml文件指定具体的控制器:
type: "joint_state_controller/JointStateController"
publish_rate: 50
然后在launch文件中将参数加载到对应的node:control_manager
    <rosparam command="load"
              file="$(find learn_model)/config/joints.yaml"
              ns="r2d2_joint_state_controller" />

    <node name="r2d2_controller_spawner" pkg="controller_manager" type="spawner"
          args="r2d2_joint_state_controller
          --shutdown-timeout 3"/>
加载控制器之后,机器人还是无法运动关节,因为他不知道到底是哪个关节来执行命令。
这时候就需要指定传动装置了。
2. gezebo传动装置
对于每一个不是fixed类型的关节joint,我们都需要指定他们的transmission
  <transmission name="head_swivel_trans">
    <type>transmission_interface/SimpleTransmission</type>
    <actuator name="$head_swivel_motor">
      <mechanicalReduction>1</mechanicalReduction>
    </actuator>
    <joint name="head_swivel">
      <hardwareInterface>hardware_interface/PositionJointInterface</hardwareInterface>
    </joint>
  </transmission>
上述代码块将head_swivel关节与执行机构连接
- joint标签需要与之前定义的保持一致
hardwareInterface很重要mechanicalReduction:指定关节和驱动器之间的减速比
然后在config目录下新建文件:
type: "position_controllers/JointPositionController"
joint: head_swivel
在这里设置position_controllers参数。在urdf文件中的 hardware interface 就与控制器类型配套了。
同样再次更改launch文件:
    <rosparam command="load"
              file="$(find learn_model)/config/joints.yaml"
              ns="r2d2_joint_state_controller" />
    <rosparam command="load"
              file="$(find learn_model)/config/head.yaml"
              ns="r2d2_head_controller" />

    <node name="r2d2_controller_spawner" pkg="controller_manager" type="spawner"
          args="r2d2_joint_state_controller
          r2d2_head_controller
          --shutdown-timeout 3"/>
加入r2d2_head_controller控制器。
启动launch文件:
发布如下节点:
pub /r2d2_head_controller/command std_msgs/Float64 "data: -0.707"
然后我们再看效果:
可以看到在rviz和gazebo中,头部非常快的摆动到对应位置。
如果按照正常世界,实现缓慢转动,需要在urdf文件中对joint做如下修改:
  <joint name="head_swivel" type="continuous">
    <parent link="base_link"/>
    <child link="head"/>
    <axis xyz="0 0 1"/>
    <origin xyz="0 0 ${bodylen/2}"/>
    <limit effort="30" velocity="1.0"/>
  </joint>
其中关键是加入了<limit effort="30" velocity="1.0"/>力和速度的限制。
其他关节控制器同样需要添加如上类似内容:
但是每个关节挨个控制也太麻烦了,我们可以用如下配置文件实现批量控制。
type: "position_controllers/JointGroupPositionController"
joints:
  - gripper_extension
  - left_gripper_joint
  - right_gripper_joint
同样修改launch文件,添加对上述yaml文件的解析
在xacro文件中添加对应的transmission标签
最后启动launch文件,终端pub对应数据:
 查看效果:
查看效果:
需要注意的是,上述的所有joint控制方式,都是PositionController位置控制器。
最后一块,把四个轮子的驱动器也加上。
第一步:添加transmission
在xacro文件中文件添加如下内容:
    <transmission name="${prefix}_${suffix}_wheel_trans">
      <type>transmission_interface/SimpleTransmission</type>
      <actuator name="${prefix}_${suffix}_wheel_motor">
        <mechanicalReduction>1</mechanicalReduction>
      </actuator>
      <joint name="${prefix}_${suffix}_wheel_joint">
        <hardwareInterface>hardware_interface/VelocityJointInterface</hardwareInterface>
      </joint>
    </transmission>
第二步:yaml参数文件
轮子和上述其他的控制方式不一样,他的对应yaml也就显得比较复杂:
type: "diff_drive_controller/DiffDriveController"
publish_rate: 50

left_wheel: ['left_front_wheel_joint', 'left_back_wheel_joint']
right_wheel: ['right_front_wheel_joint', 'right_back_wheel_joint']

wheel_separation: 0.44

# Odometry covariances for the encoder output of the robot. These values should
# be tuned to your robot's sample odometry data, but these values are a good place
# to start
pose_covariance_diagonal: [0.001, 0.001, 0.001, 0.001, 0.001, 0.03]
twist_covariance_diagonal: [0.001, 0.001, 0.001, 0.001, 0.001, 0.03]

# Top level frame (link) of the robot description
base_frame_id: base_link

# Velocity and acceleration limits for the robot
linear:
  x:
    has_velocity_limits    : true
    max_velocity           : 0.2   # m/s
    has_acceleration_limits: true
    max_acceleration       : 0.6   # m/s^2
angular:
  z:
    has_velocity_limits    : true
    max_velocity           : 2.0   # rad/s
    has_acceleration_limits: true
    max_acceleration       : 6.0   # rad/s^2
第三步:修改launch文件
    <rosparam command="load"
              file="$(find learn_model)/config/wheel.yaml"
              ns="r2d2_diff_drive_controller" />


    <node name="r2d2_controller_spawner" pkg="controller_manager" type="spawner"
          args="r2d2_joint_state_controller
          r2d2_head_controller
          r2d2_gripper_controller
          r2d2_diff_drive_controller
          --shutdown-timeout 3"/>
设置移动线速度和旋转角速度
查看效果
3. 给gazebo模型添加颜色
        <gazebo reference="motor_link">
            <material>Gazebo/Gray</material>
        </gazebo>
其中颜色直接可以命名,首字母大写,不需要提前设定RGBA
4. 总结
上面说了太多的东西,看到这里估计大家脑子都乱了。我再来简明扼要的总结下在gazebo中让机器人动起来的流程。
指定ros插件 + 设定传动装置
关于ros插件,你可以选择在xacro文件中使用标签配置,比如:
    <gazebo>
        <plugin name="differential_drive_controller" filename="libgazebo_ros_diff_drive.so">
            <rosDebugLevel>Debug</rosDebugLevel>
            <publishWheelTF>true</publishWheelTF>
            <robotNamespace>/</robotNamespace>
            <publishTf>1</publishTf>
            <publishWheelJointState>true</publishWheelJointState>
            <alwaysOn>true</alwaysOn>
            <updateRate>100.0</updateRate>
            <legacyMode>true</legacyMode>
            <leftJoint>left_front_wheel_joint left_back_wheel_joint</leftJoint>
            <rightJoint>right_front_wheel_joint right_back_wheel_joint</rightJoint>
            <wheelSeparation>${base_link_y-0.05}</wheelSeparation>
            <wheelDiameter>${2*wheel_radius}</wheelDiameter>
            <broadcastTF>1</broadcastTF>
            <wheelTorque>30</wheelTorque>
            <wheelAcceleration>1.8</wheelAcceleration>
            <commandTopic>cmd_vel</commandTopic>
            <odometryFrame>odom</odometryFrame>
            <odometryTopic>odom</odometryTopic>
            <robotBaseFrame>base_footprint</robotBaseFrame>
        </plugin>
    </gazebo>
也可以按照上文提及到的方法,在launch文件中指定对应的ros_control插件,然后通过yaml文件进行相关参数配置。
关于transimmison文件,没有什么大的区别,就是在xacro文件中进行设置。
二、gazebo传感器仿真
传感器仿真部分,主要说两个主要传感器,他们的配置方法跟给机器人添加插件的方法一样,在传感器对应的xacro文件中,使用<plygin>标签添加对应的属性即可。下面详细说下两种相机对应的插件参数的配置。
- Kinetic深度相机
        <gazebo reference="${prefix}_link">
            <sensor type="depth" name="${prefix}">
                <always_on>true</always_on>
                <update_rate>20.0</update_rate>
                <camera>
                    <horizontal_fov>${60.0*M_PI/180.0}</horizontal_fov>
                    <image>
                        <format>R8G8B8</format>
                        <width>640</width>
                        <height>480</height>
                    </image>
                    <clip>
                        <near>0.05</near>
                        <far>8.0</far>
                    </clip>
                </camera>
                <plugin name="kinect_${prefix}_controller" filename="libgazebo_ros_openni_kinect.so">
                    <cameraName>${prefix}</cameraName>
                    <alwaysOn>true</alwaysOn>
                    <updateRate>10</updateRate>
                    <imageTopicName>rgb/image_raw</imageTopicName>
                    <depthImageTopicName>depth/image_raw</depthImageTopicName>
                    <pointCloudTopicName>depth/points</pointCloudTopicName>
                    <cameraInfoTopicName>rgb/camera_info</cameraInfoTopicName>
                    <depthImageCameraInfoTopicName>depth/camera_info</depthImageCameraInfoTopicName>
                    <frameName>${prefix}_frame_optical</frameName>
                    <baseline>0.1</baseline>
                    <distortion_k1>0.0</distortion_k1>
                    <distortion_k2>0.0</distortion_k2>
                    <distortion_k3>0.0</distortion_k3>
                    <distortion_t1>0.0</distortion_t1>
                    <distortion_t2>0.0</distortion_t2>
                    <pointCloudCutoff>0.4</pointCloudCutoff>
                </plugin>
            </sensor>
        </gazebo>
- 激光雷达
        <gazebo reference="${prefix}_link">

            <sensor type="ray" name="rplidar">
                <pose>0 0 0 0 0 0</pose>
                <visualize>false</visualize>
                <update_rate>5.5</update_rate>
                <ray>
                    <scan>
                      <horizontal>
                        <samples>360</samples>
                        <resolution>1</resolution>
                        <min_angle>-3</min_angle>
                        <max_angle>3</max_angle>
                      </horizontal>
                    </scan>
                    <range>
                      <min>0.10</min>
                      <max>6.0</max>
                      <resolution>0.01</resolution>
                    </range>
                    <noise>
                      <type>gaussian</type>
                      <mean>0.0</mean>
                      <stddev>0.01</stddev>
                    </noise>
                </ray>
                <plugin name="gazebo_rplidar" filename="libgazebo_ros_laser.so">
                    <topicName>/scan</topicName>
                    <frameName>laser_link</frameName>
                </plugin>
            </sensor>
        </gazebo>
三、有用的资料
1.gazebo官方ros_control的tutorial文档:link