Spring Boot之自动配置原理以及自定义starter
前言:spring boot之所以强大,其核心自动配置起到了关键的作用,通过自动配置,摒弃了传统开发中的一大堆配置文件xml。如果说spring boot是一把手枪,那starter就是他的子弹。starter简单来说,就是一堆jar组成的一个功能,而且是可以自动配置jar。
1、自动配置原理
在spring boot应用的主入口
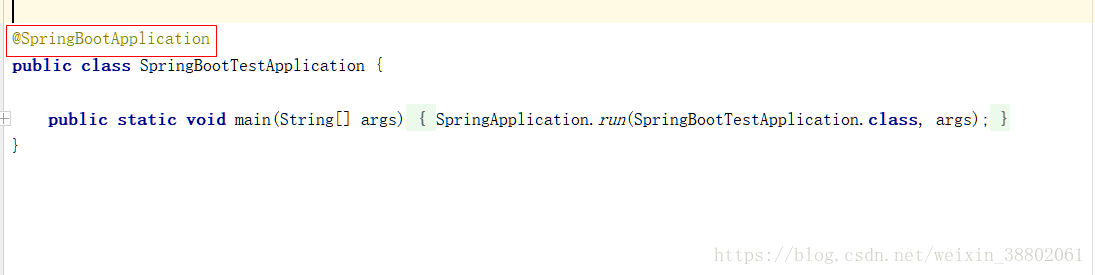
进入到@SpringBootApplication注解中
@SpringBootConfiguration注解说明主程序类也是一个配置类
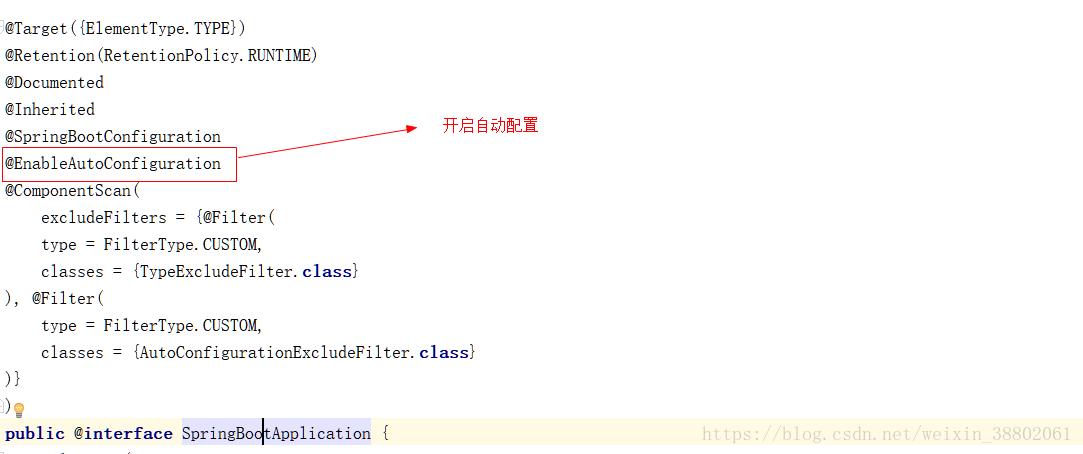
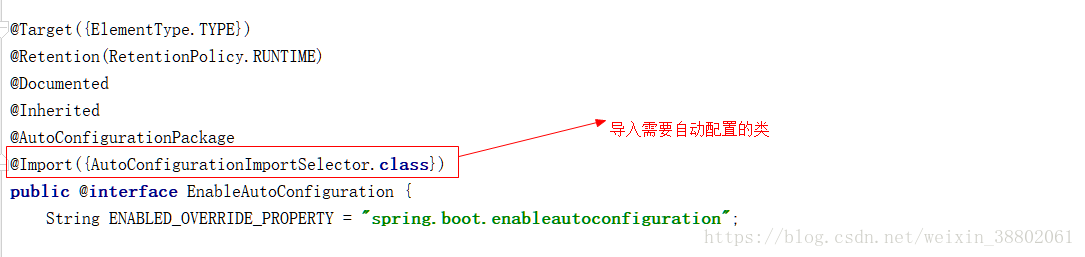
@EnableAutoConfiguration注解中

进入getCandidateConfigurations方法(获得所有的候选配置信息)

通过SpringFactoriesLoader工厂加载信息
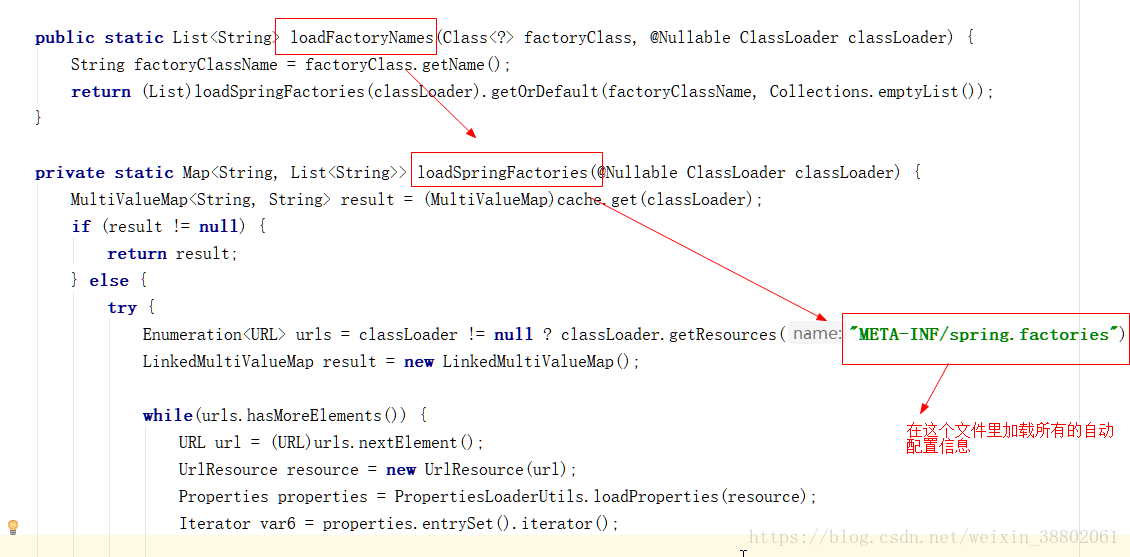
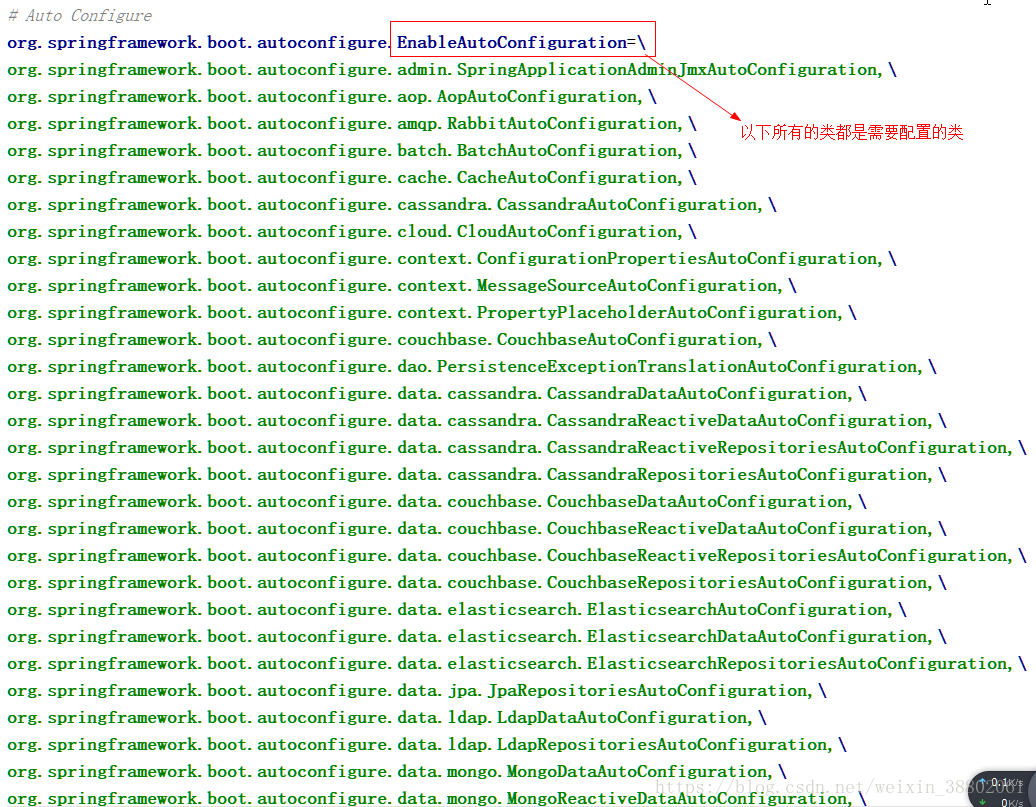
原来加载的是META-INF文件下的spring.factories文件配置的信息
来到自动配置包下的META-INF
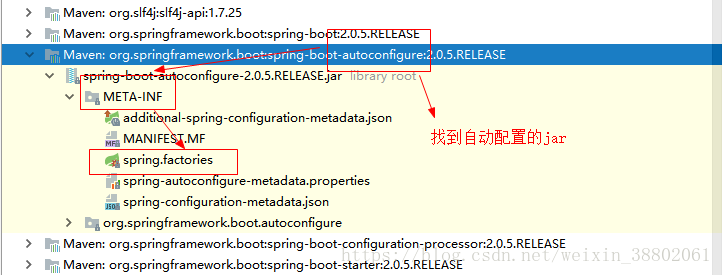
进入spring.factories文件
进入其中的一个自动配置类 ThymeleafAutoConfiguration
@Configuration:配置类
@EnableConfigurationProperties():开启某属性类,里面封装的是属性信息,相当于@ConfigurationProperties加载application.properties里面的信息,并用@Component将类交由spring管理
@ConditionalOnClass():当这个类存在时,再进行下面的步骤,否则就不进行下面的步骤了
@AutoConfigureAfter():当自动配置完成后,再执行里面的类
@ConfigurationOnMissBean():当这个bean不存在时,再添加bean类
@Bean:添加bean类
2、自定义starter
创建项目
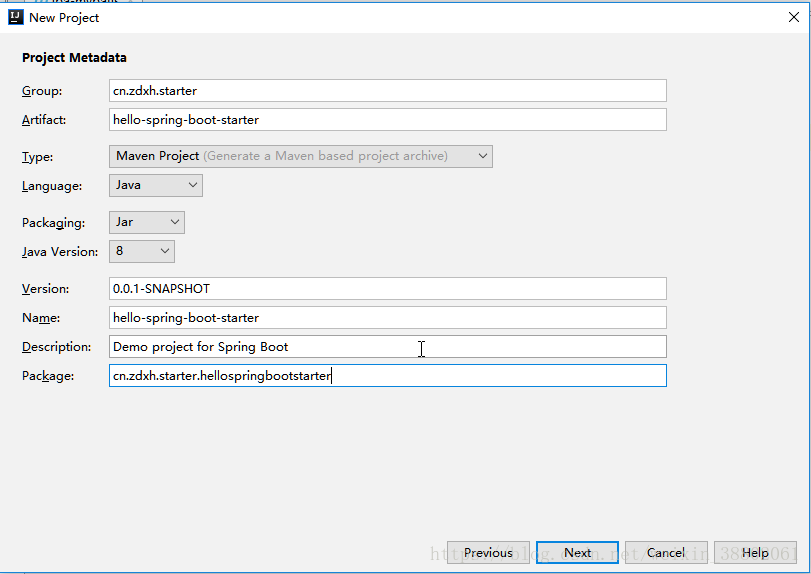
Group:本地仓库的各级目录
Artifact:{自定义名}-spring-boot-starter
在项目中最好只留spring-boot-starter依赖,这是最基本的starter依赖,其他依赖都可以删掉,保持项目的简洁性
<?xml version="1.0" encoding="UTF-8"?>
<project xmlns="http://maven.apache.org/POM/4.0.0" xmlns:xsi="http://www.w3.org/2001/XMLSchema-instance"
	xsi:schemaLocation="http://maven.apache.org/POM/4.0.0 http://maven.apache.org/xsd/maven-4.0.0.xsd">
	<modelVersion>4.0.0</modelVersion>

	<groupId>cn.zdxh.starter</groupId>
	<artifactId>hello-spring-boot-starter</artifactId>
	<version>0.0.1-SNAPSHOT</version>
	<packaging>jar</packaging>

	<name>hello-spring-boot-starter</name>
	<description>Demo project for Spring Boot</description>

	<parent>
		<groupId>org.springframework.boot</groupId>
		<artifactId>spring-boot-starter-parent</artifactId>
		<version>2.0.6.RELEASE</version>
		<relativePath/> <!-- lookup parent from repository -->
	</parent>

	<properties>
		<project.build.sourceEncoding>UTF-8</project.build.sourceEncoding>
		<project.reporting.outputEncoding>UTF-8</project.reporting.outputEncoding>
		<java.version>1.8</java.version>
	</properties>

	<dependencies>
		<dependency>
			<groupId>org.springframework.boot</groupId>
			<artifactId>spring-boot-starter</artifactId>
		</dependency>

	</dependencies>

</project>
目录结构:
不要主程序入口!不要主程序入口!不要主程序入口!
bean:读取properties里面的信息
config:实现自动配置的类
service:需要被自动配置的类
static/META-INF/spring.factories:创建该文件作为存放config类

Hello类
该类交由spring管理,并且绑定application.properties文件中的init.hello属性
@Component
@ConfigurationProperties(prefix = "init.hello")
public class Hello {
    private String message="我是初始的message";

    public String getMessage() {
        return message;
    }

    public void setMessage(String message) {
        this.message = message;
    }
}
HelloService的目标配置类
注入从文件中读出信息的Hello类
public class HelloService {

    @Autowired
    private Hello hello;

    public void sayHello(){
        System.out.println(hello.getMessage());//仅仅作输出的操作
    }
}
HelloAutoConfig自动配置类
核心是@ConditionalOnMissBean(),当容器中没有这个类时,才进行自动配置操作
@Configuration
public class HelloAutoConfig {
    @ConditionalOnMissingBean(HelloService.class)
    @Bean
    public HelloService helloService(){
        return new HelloService();
    }
}
spring.factories文件添加自动配置类
org.springframework.boot.autoconfigure.EnableAutoConfiguration=\
cn.zdxh.starter.hellospringbootstarter.config.HelloAutoConfig,
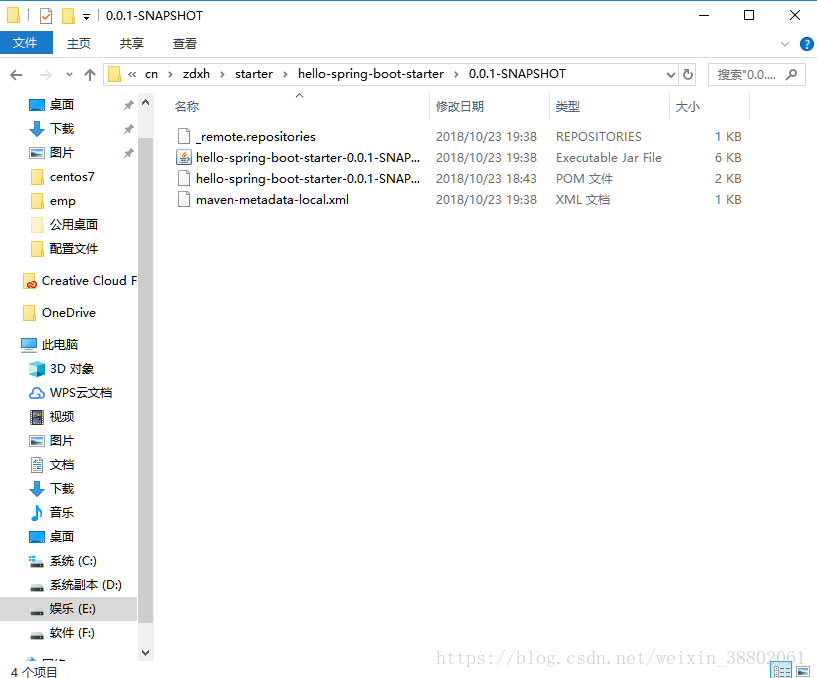
点击右上角的Maven Projects调出以下窗口,并install创库
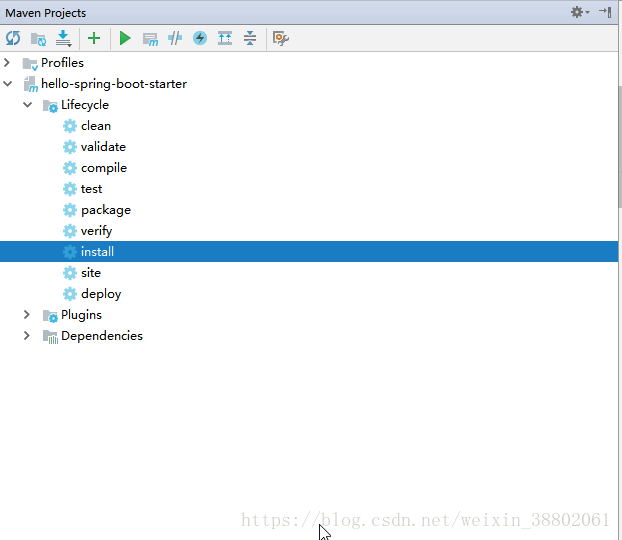
在本地项目中就可以看到创建的starter
验证自定义starter
在别的项目引入自定义starter
<dependency>
	<groupId>cn.zdxh.starter</groupId>
	<artifactId>hello-spring-boot-starter</artifactId>
	<version>0.0.1-SNAPSHOT</version>
</dependency>
在application.properties添加需要显示的信息
init.hello.message=我是配置的message信息在测试类中注入HelloService类
        @Autowired
	HelloService helloService;

	@Test
	public void testHelloService(){
		helloService.sayHello();
	}
在控制台看到如下信息,则自动配置信息成功
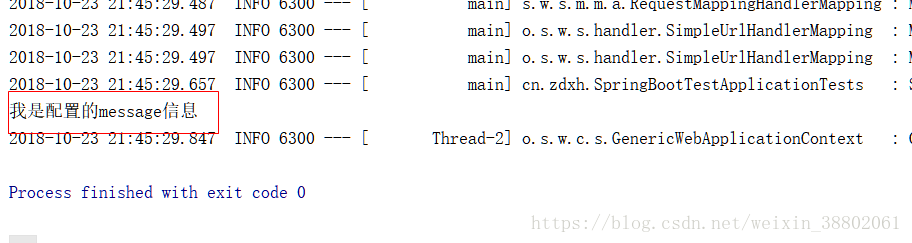
当别人引用这个自定义starter时,HelloService类就会被自动配置,就不需要手动添加了,这就是spring boot的魅力所在!