seata使用教程
1.下载seata
我们这里下载的是1.3.0的版本
2.修改registry.conf的配置
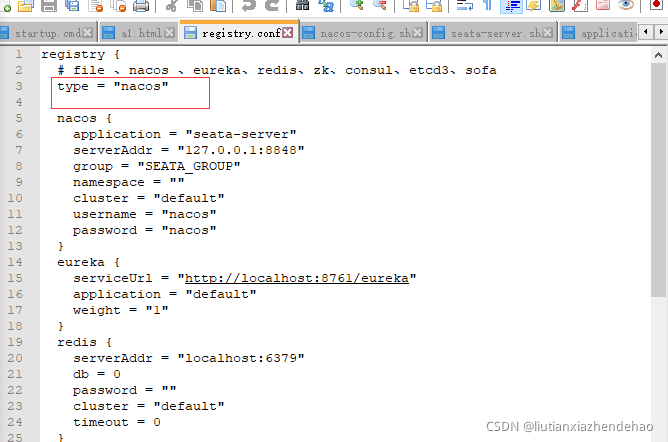
改为nacos
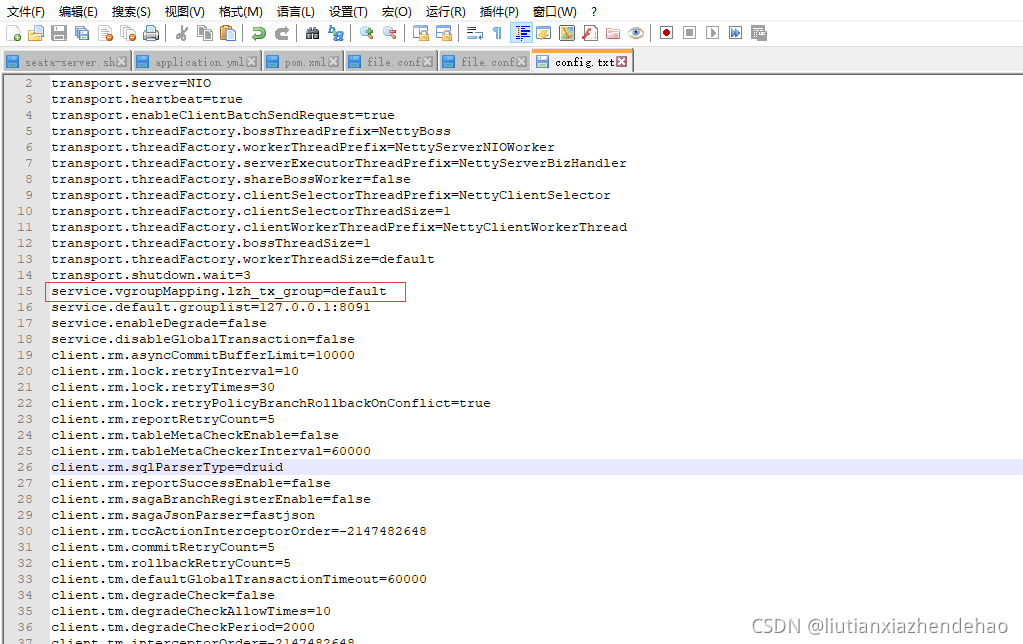
3 .修改config.txt,和nacos-config.sh并放到相应的位置

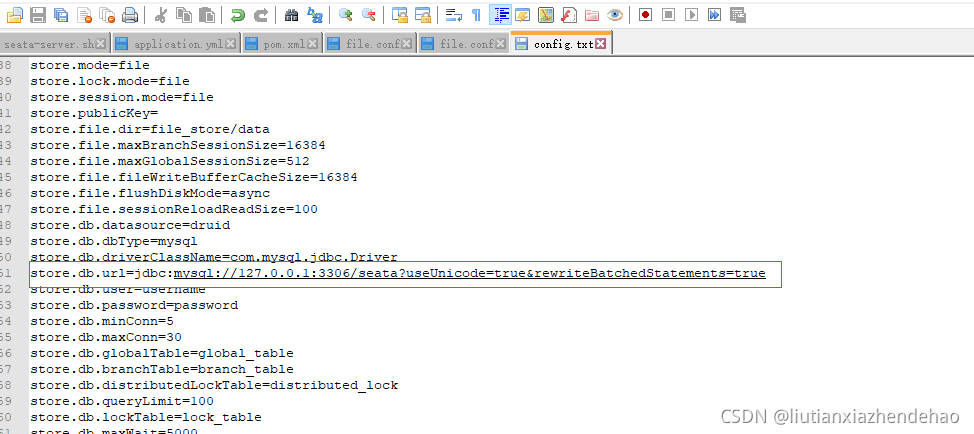
修改config.txt
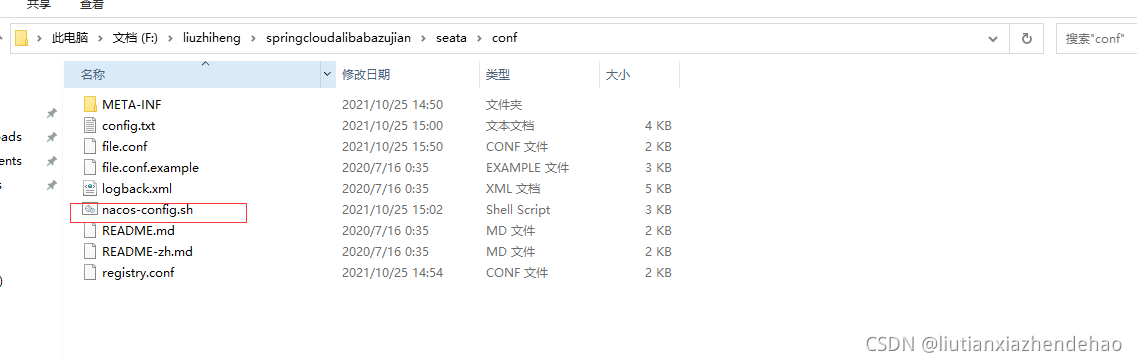
config.txt 和nacos-config.sh下载地址
https://github.com/seata/seata/tree/develop/script/config-center
https://github.com/seata/seata/tree/develop/script/config-center/nacos
3.1 在seata数据库下创建如下表

数据库名称可在这里配置
建表sql 地址https://github.com/seata/seata/blob/develop/script/server/db/mysql.sql
并在每个服务的数据库中添加undo_log 表,建表语句如下
CREATE TABLE undo_log (id bigint(20) NOT NULL AUTO_INCREMENT,branch_id bigint(20) NOT NULL,xid varchar(100) NOT NULL,context varchar(128) NOT NULL,rollback_info longblob NOT NULL,log_status int(11) NOT NULL,log_created datetime NOT NULL,log_modified datetime NOT NULL,ext varchar(100) DEFAULT NULL,
PRIMARY KEY (id),
UNIQUE KEY ux_undo_log (xid,branch_id)
) ENGINE=InnoDB AUTO_INCREMENT=1 DEFAULT CHARSET=utf8;
4.在nacos上命名一个空间

载入seata配置到 nacos,运行命令
sh nacos-config.sh -h 127.0.0.1 -t 7d1c0490-6d2b-4ff5-8e60-f3a7a6e1ddd1
5.启动seata

启动成功可以看到

6.整合到微服务
6.1引入pom
<!--seata-->
<dependency>
    <groupId>com.alibaba.cloud</groupId>
    <artifactId>spring-cloud-starter-alibaba-seata</artifactId>
    <exclusions>
        <exclusion>
            <artifactId>seata-all</artifactId>
            <groupId>io.seata</groupId>
        </exclusion>
    </exclusions>
</dependency>
<dependency>
    <groupId>io.seata</groupId>
    <artifactId>seata-all</artifactId>
    <version>1.3.0</version>
</dependency>
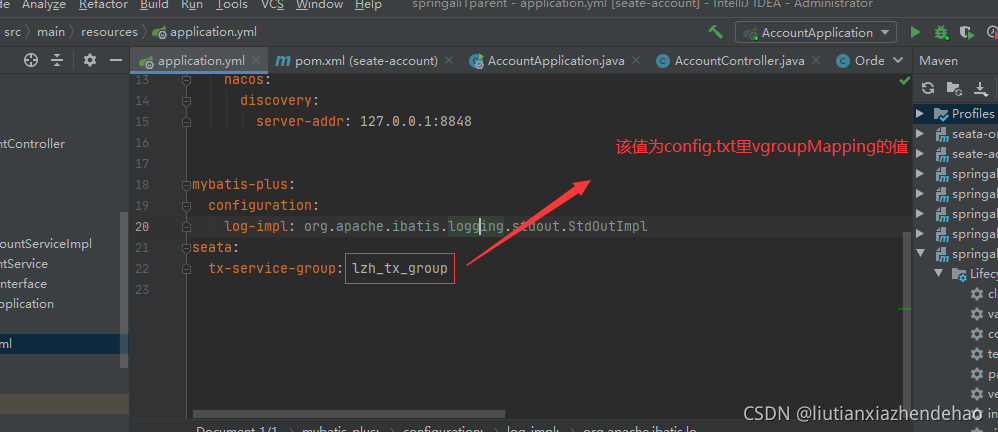
6.2 修改配置
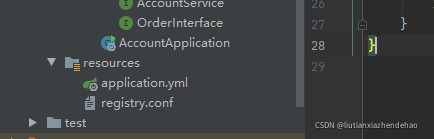
将registy.conf复制到每个微服务
6.3
在所有涉及到分布式事务的service上添加如下注解释

done!